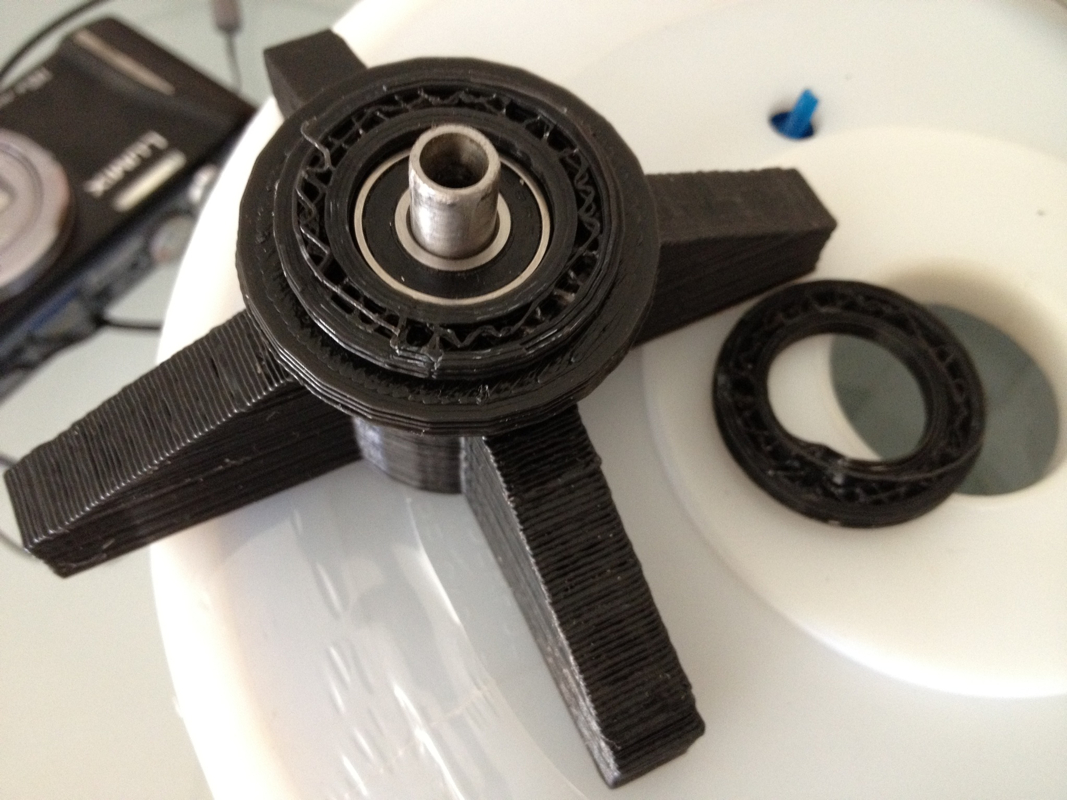
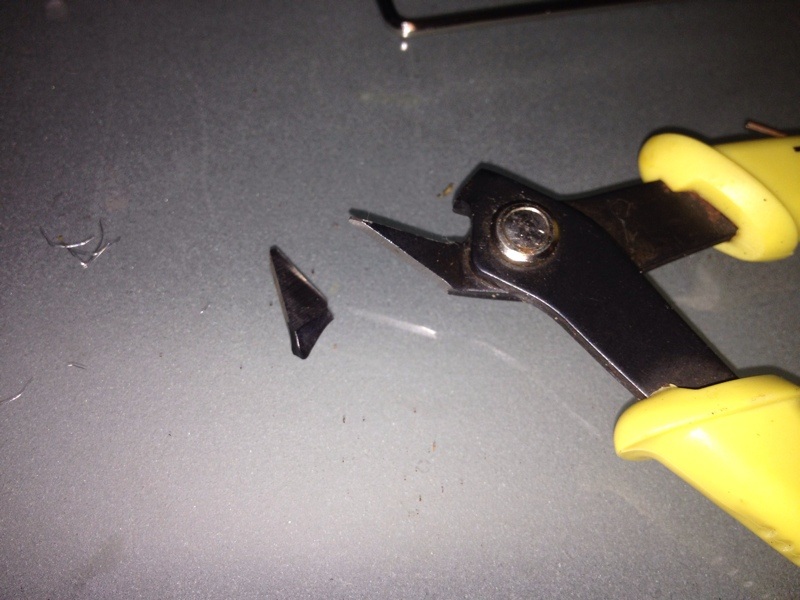
I tried putting the printed parts together with Sherline's flange bearing and motor coupler. The fit was extremely tight. It took me quite a while to have the coupler seating completely at the bottom of the base. When the bearing holder was inserted into the centre of the spool, it broke...
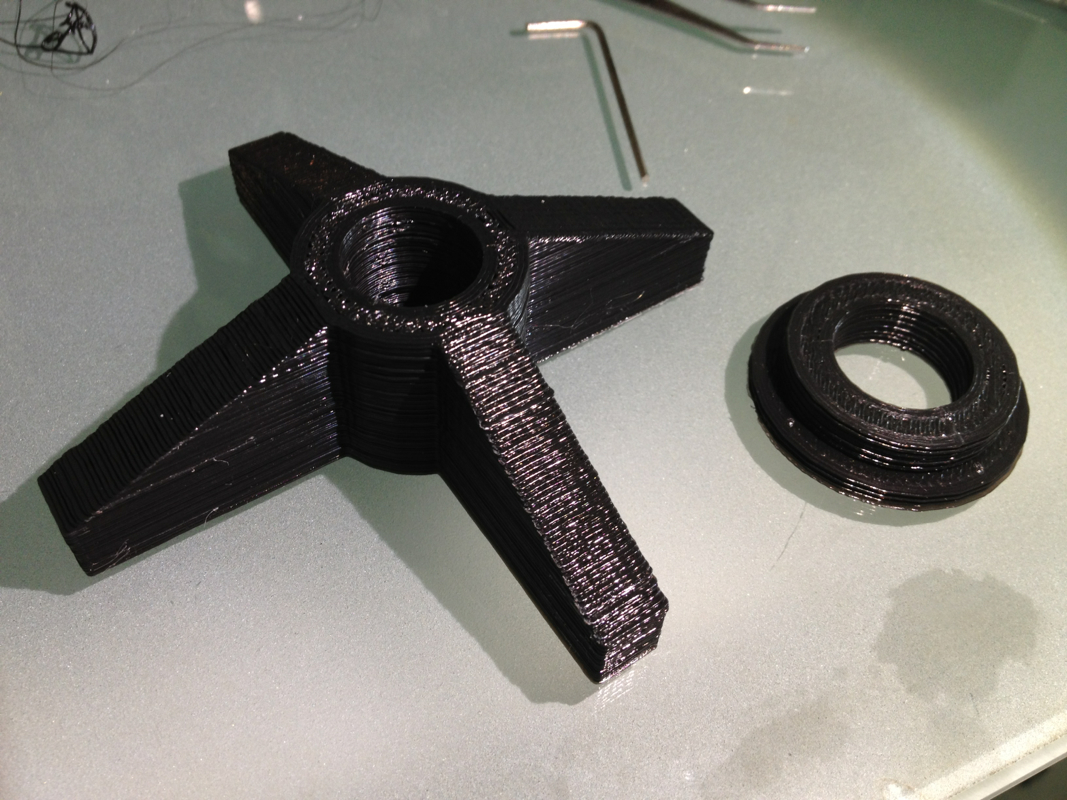
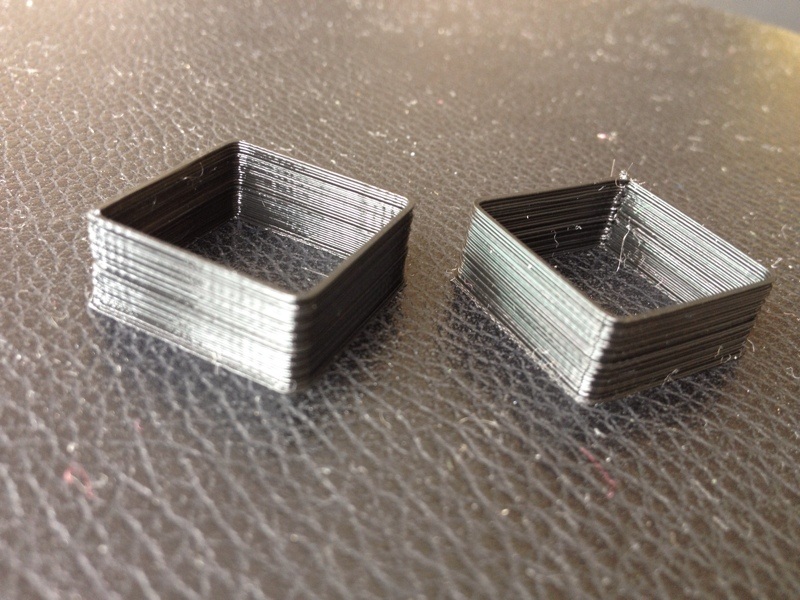
I reprinted one with infill of 40%, hoping that it would strengthen it some what.
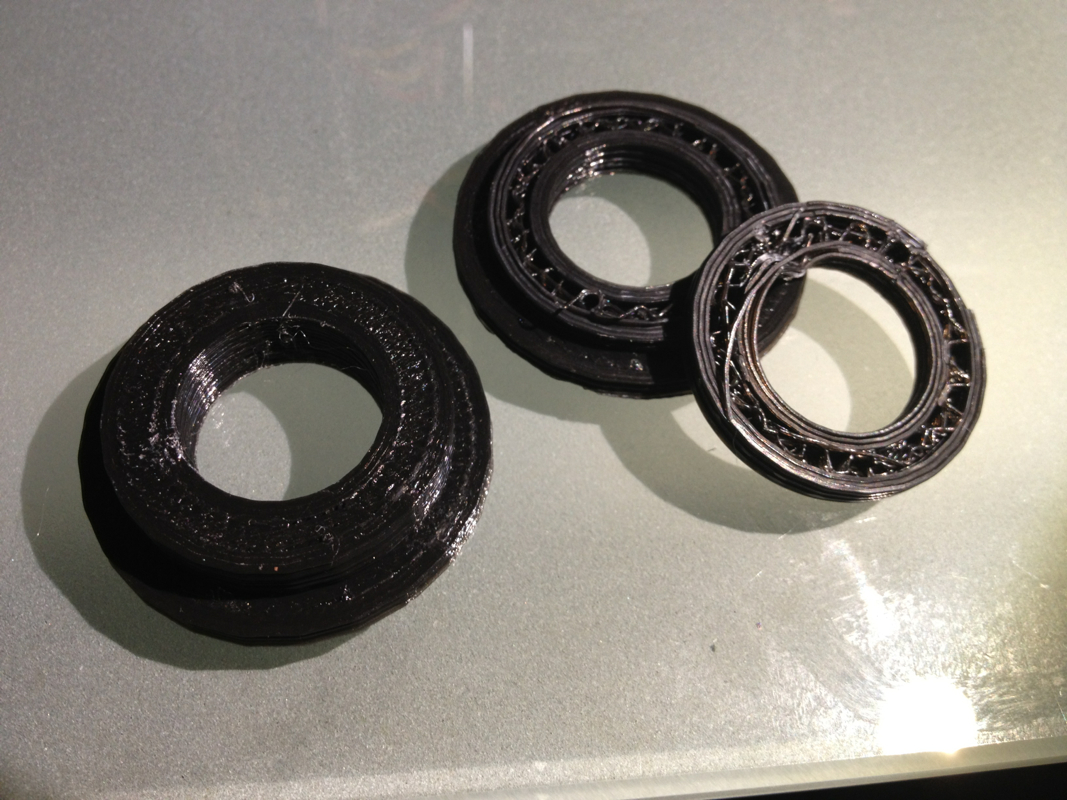
The newly printed bearing holder next to the broken one.
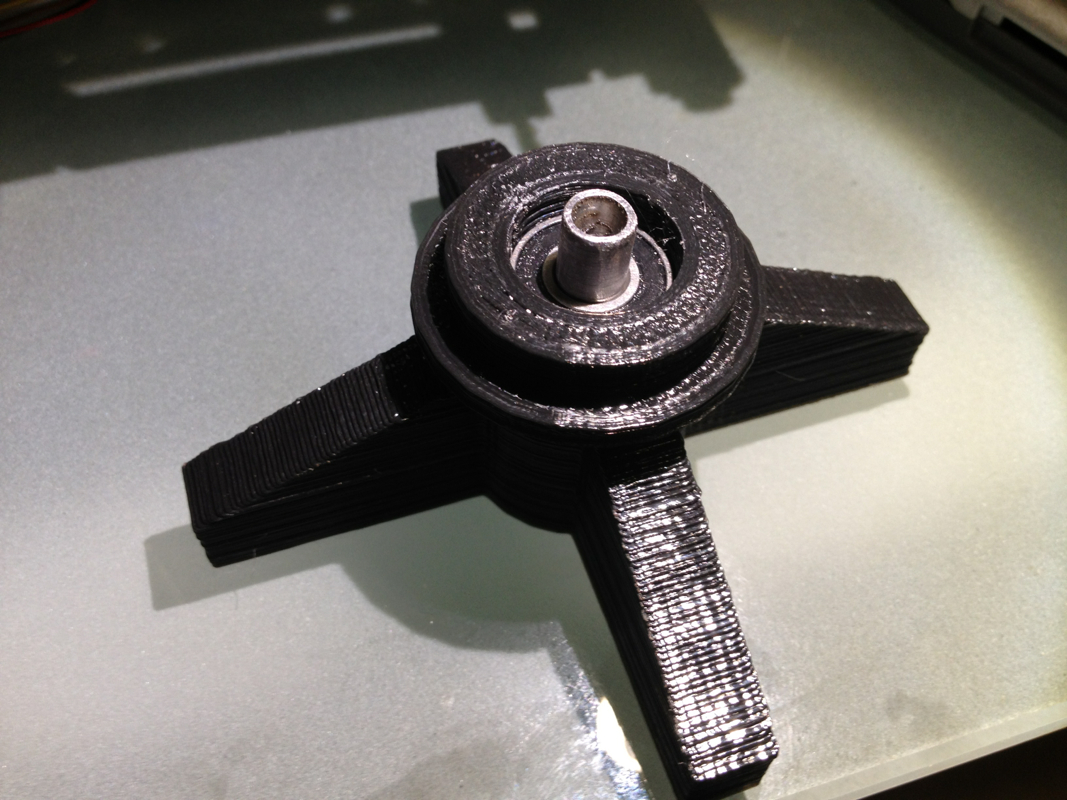
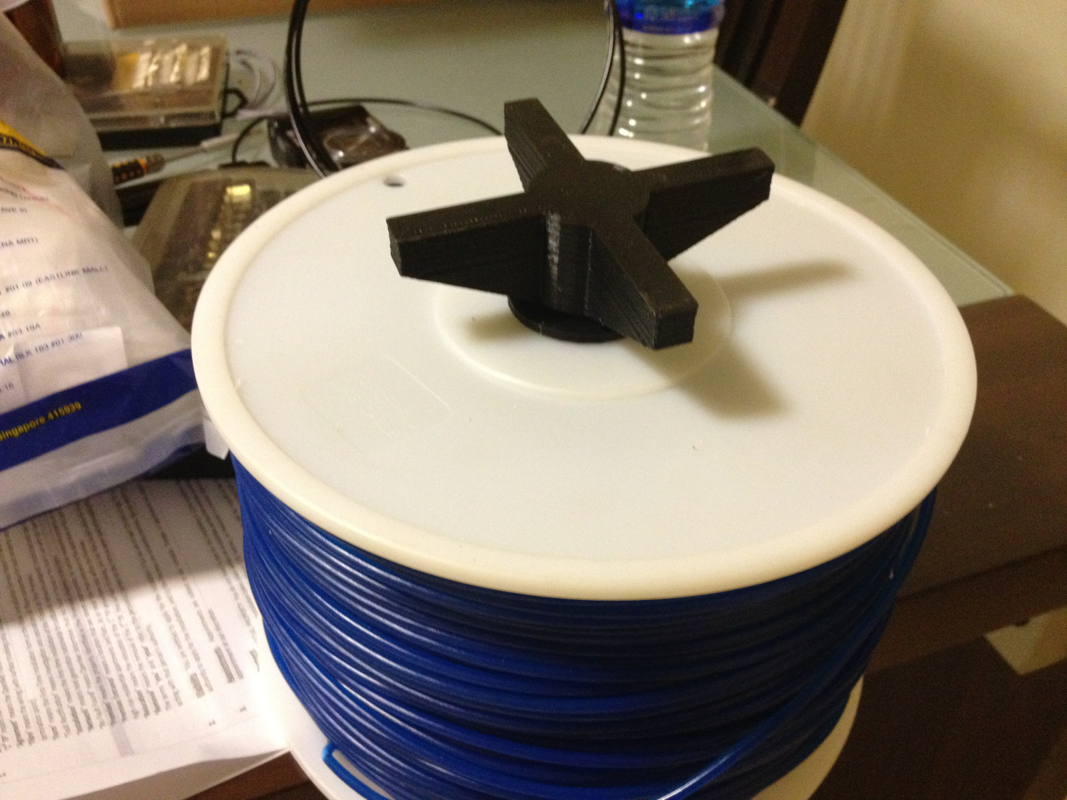
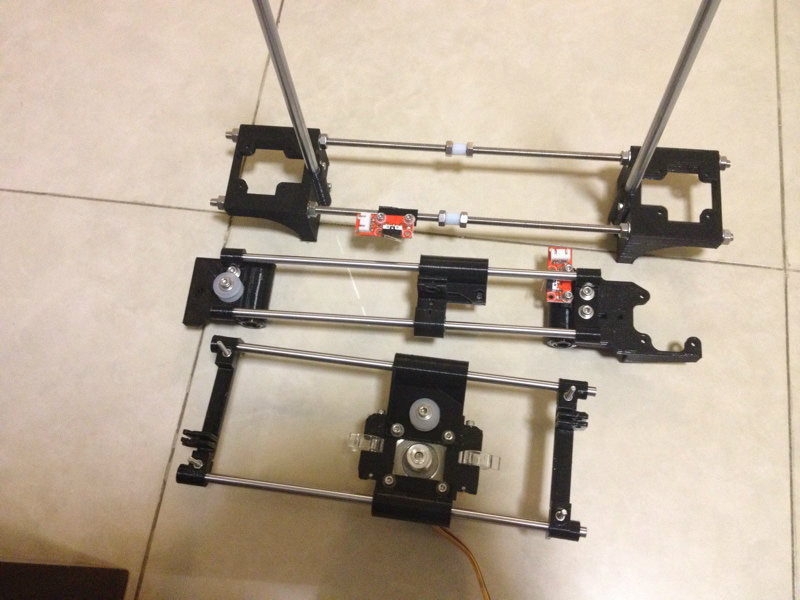
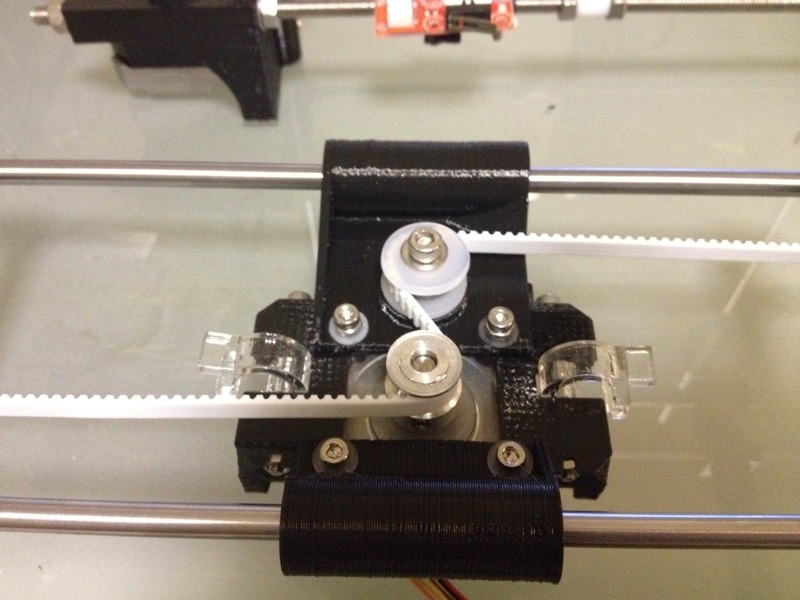
The assembly fitted together.
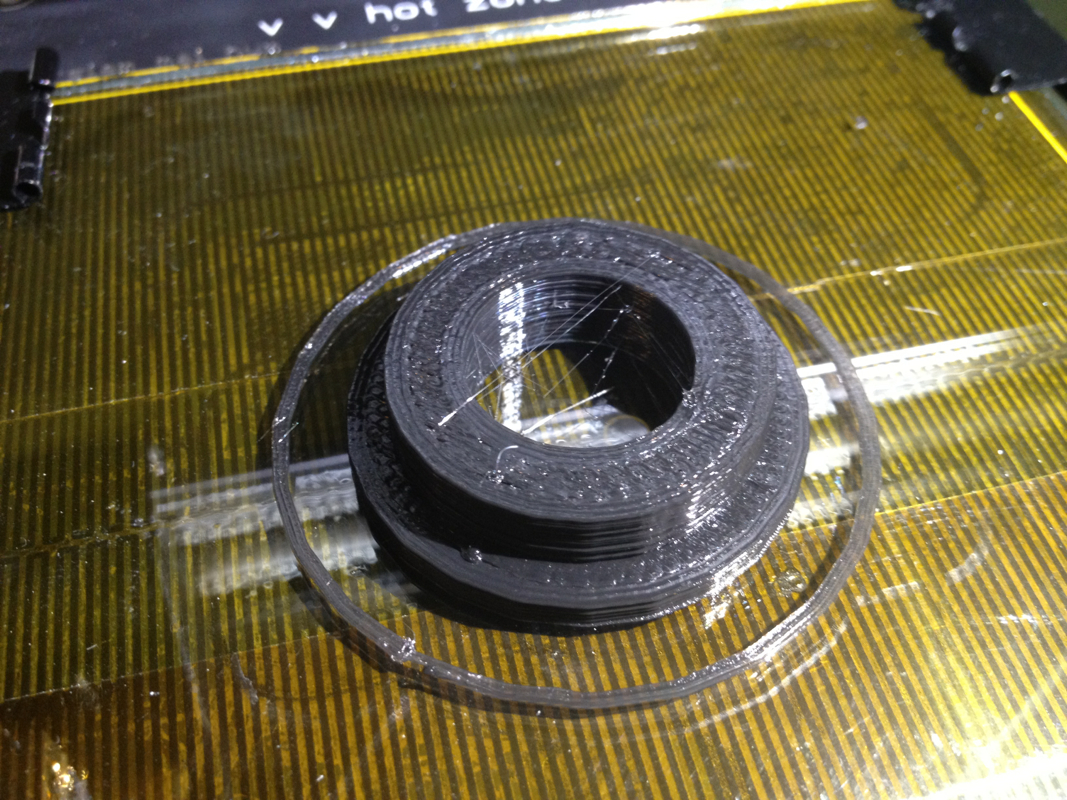
Pressing the holder to the spool.
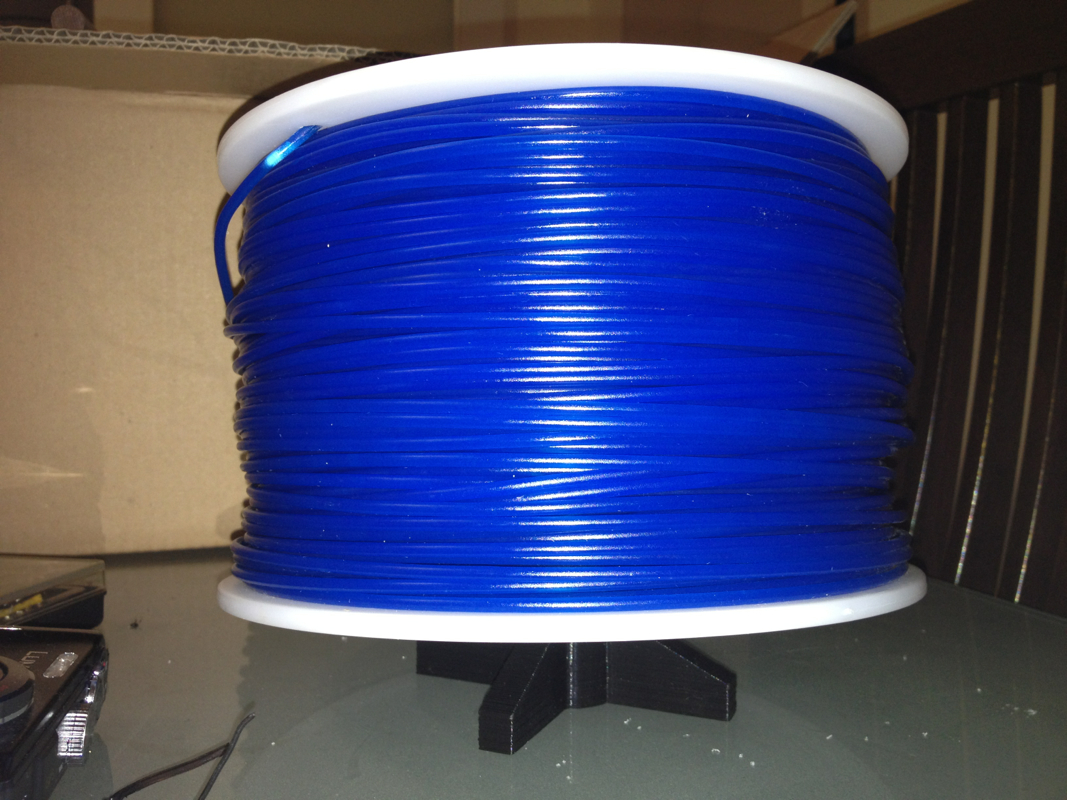
Job done. The spool can be turned freely on the holder.
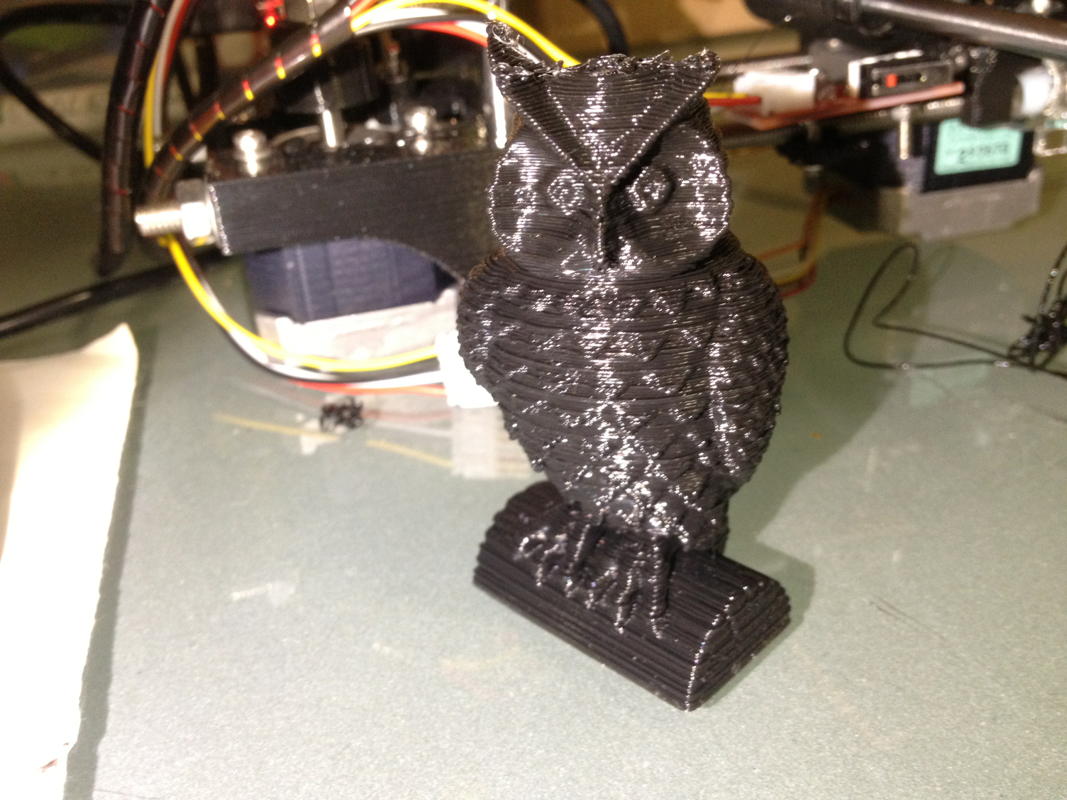
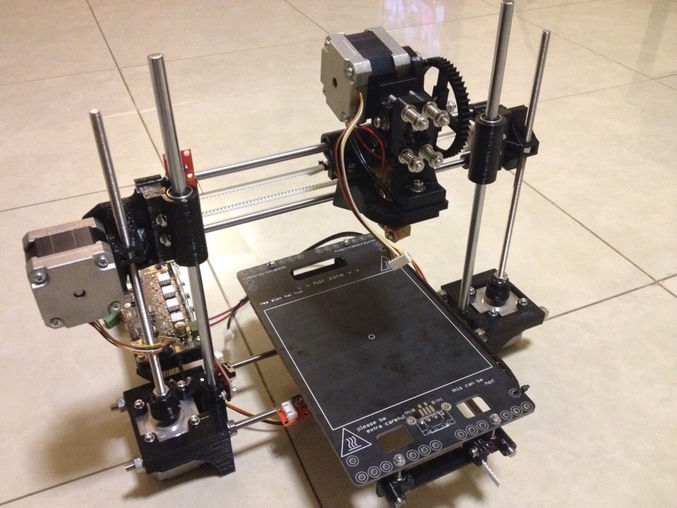
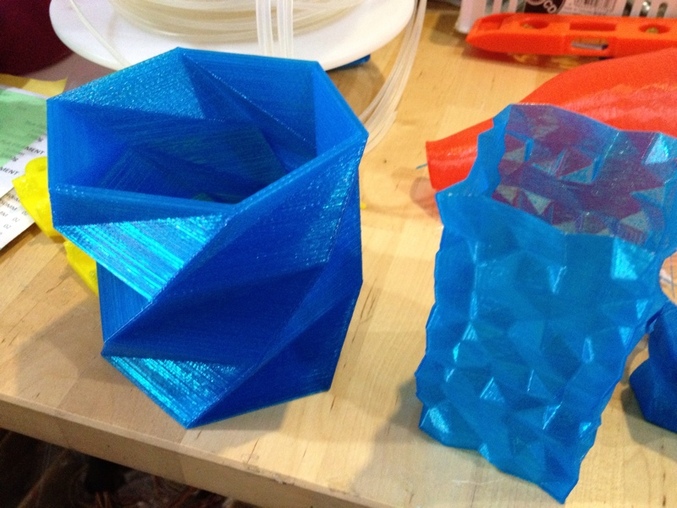
I'm now ready to print an owl using the blue filament for Ruth. This will be a 4 plus hours job as it is going to be slightly bigger than the one I did earlier for Alicia.
Hope to have the time to do it.
Hope to have the time to do it.


 RSS Feed
